Micronaut Revisited
Contents
- Contents
- Introduction
- About Micronaut
- That little disadvantage of Spring
- What Micronaut does differently
- Our example application
- Spring
- Micronaut
- GraalVM Native Image compilation
- Conclusion
Introduction
Last year, I published an article in the Java Magazin (in German) and on JAX (in English) about Micronaut, a relatively new Java Framework for cloud-native microservices inspired by Spring. The framework has gotten a lot of attention for it’s support for GraalVM Native Image compilation, which heavily reduces startup time and RAM usage for Java Applications (more on that later). In the article, I compared Micronaut with Spring, both code-wise and performance-wise using a sample application. You can find the English version of this article at JAX London and the German version at the adesso Blog.
Since the article’s publication, both Micronaut and Spring have gotten a lot of improvements. About time to do another comparison of the two frameworks, one and a half years later. I’m going to reiterate some basic explanations. However, the sample application is a little bit more complicated as you will see shortly. I am also using the newly released version 2.0 of Micronaut which includes a lot of improvements to version 1.0.
These changes should lead to a more representative comparision than the one I did last year and also reflect the new improvements that have been done by both Micronaut and Spring developers in the meantime. Enough talking, let’s get started!
About Micronaut
The Micronaut Framework is developed by OCI, more precisely under supervision of Graeme Rocher, who also created the Grails Framework. Therefore, the experiences from both Spring and Grails have been used in Micronaut. Much of the programming model and paradigms of Micronaut should feel quite familiar to Spring practitioners, lowering the barrier of entry for many developers. The framework describes itself as “A modern, JVM-based, full-stack framework for building modular, easily testable microservice and serverless applications.” and in this description lies the main difference between Micronaut and Spring: Micronaut, from the beginning, is aimed at small microservices and serverless applications, which is something most Java frameworks and the entire JVM ecosystem in general struggle with.
That little disadvantage of Spring
All Java applications naturally come with a bit of an overhead. The official system requirements of the JVM alone are 128 Mb of RAM and 124 Mb disk space. Traditionally developed applications are fine with this, but containerized applications or even FaaS applications cannot afford such numbers. As a comparison, non-trivial applications programmed in the Go programming language are often times just 20 - 30 Mb in size.
Another very important metric is startup time. Thanks to Spring’s runtime reflection approach, startup durations of more than 20 seconds are not rare. Especially FaaS applications cannot afford to run this long before even executing business logic.
What Micronaut does differently
Micronaut takes another approach to cancel out these disadvantages. Especially startup time can be reduced significantly, which opens the otherwise hard to reach world of serverless applications to Java developers.
How can Micronaut achieve these improvements? The answer has to do with the way compilation is done. At application start, Spring will search for all Beans on the classpath (possibly using reflection), initializes them and loads them into the application context, where they can be injected wherever needed. While this is an easy and proven concept, it also increases startup duration. The duration also increases with the number of Beans that have to be scanned.
Micronaut on the other hand uses annotation processors to gather the necessary information at compile-time and can take care of dependency injection and AOP mechanisms ahead-of-time. While this of course increases the compilation duration, the startup time is reduces. Moreover, certain problems with non-resolvable dependencies can be detected much earlier. The number of beans will also not greatly impact the startup duration: Once compiled, it ought to be relatively constant.
What makes Micronaut most famous, however, is its support for GraalVM. We’re going to use GraalVM later in the blog post.
This approach to compilation has of course an important implications: Not only the framework, but also all third-party libraries may not use reflection. For example, the AOP framework AspectJ is not compatible with this approach, which is why Micronaut offers an own AOP solution.
To get a feeling on how big Micronaut’s improvements are, let’s develop a simple app, first using Spring and then using Micronaut.
Our example application
Inspired by Maximilian Schwarzmüller’s excellent course on Angular, which I recently dug through, we’re going to create an application that manages recipes and a shopping list, just on the backend side of course. You can GET recipes from and POST recipes to endpoints in a CRUD fashion, and also transfer all ingredients of a recipe to a global shopping list using another HTTP request (no multi-tenancy to keep things simple). This is somewhat similar to the shopping cart application we used last year. However, in this application, we’re going to store the data in a PostgreSQL database instead of doing everything in-memory. This way, the sample application is somewhat more like a real-life application and not as “Hello World”-ish as the previous one. It’s also going to introduce some unforeseen problems (more on that later). We’re also keeping things still simple and will therefore not deal with authentication, metrics etc.
Spring
The Spring Code
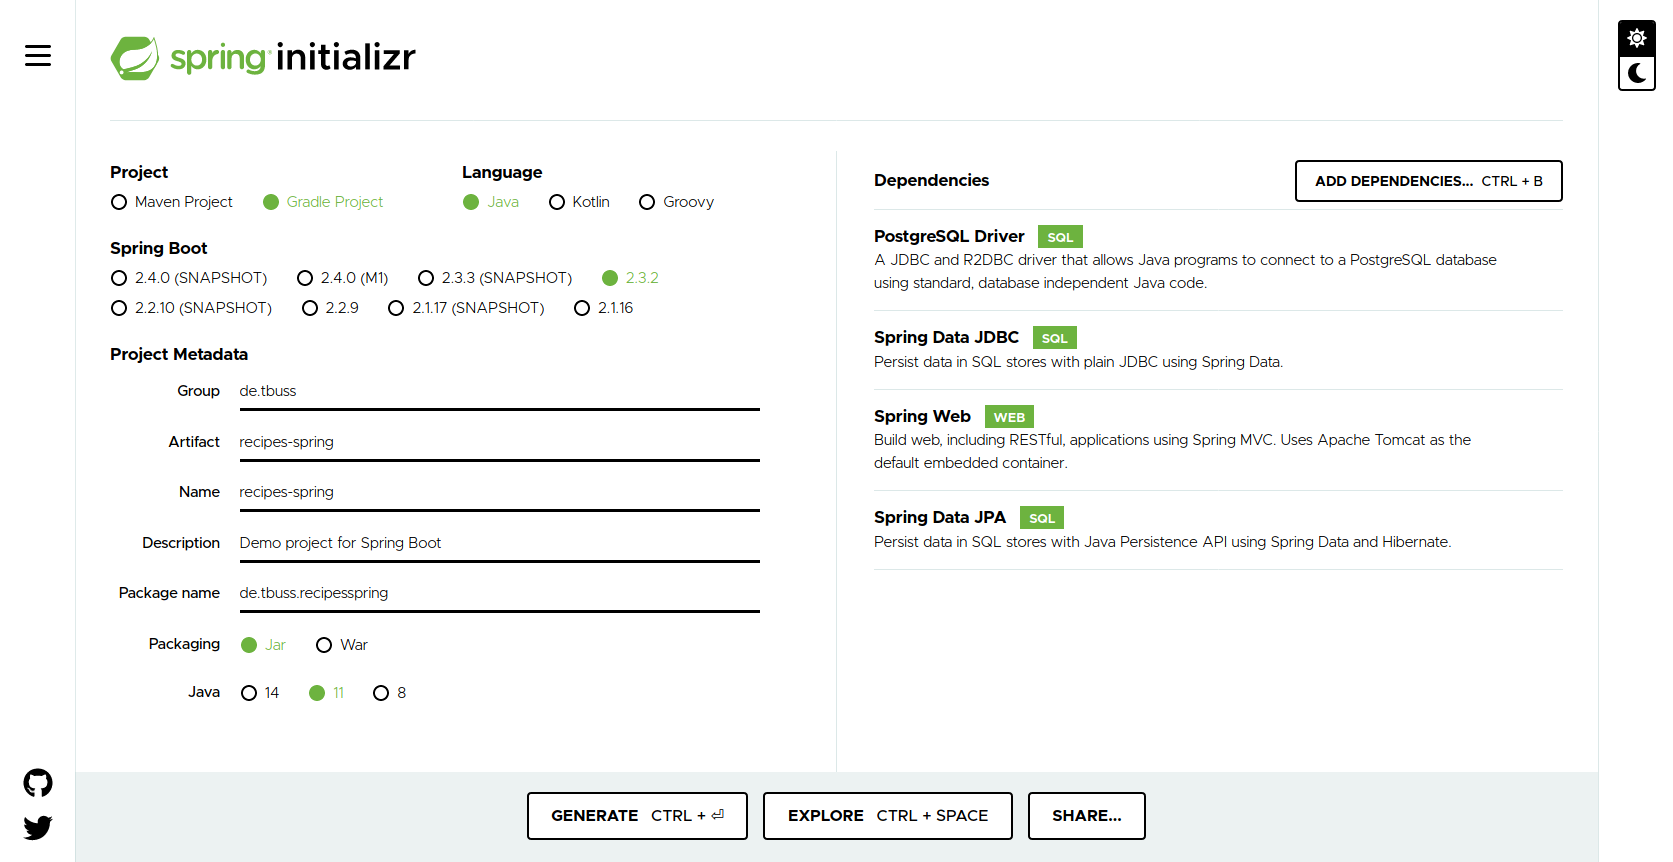
Let’s finally dive into some code. If you’ve done some Spring development in the past you should find this code very easy to understand. I am only showing parts of the code here to keep this blog post short. The final code can be found on Github. First, we head over to https://start.spring.io and quickly create a Java 11 application with all necessary dependencies: Spring Web, Spring Data JPA, Spring Data JDBC, PostgreSQL Driver. You can view my config on this screenshot:
First we need a data model to work with and annotate it with JPA annotations for later.
I’ll skip the recipe-specific part of the code as it’s not different from a technology standpoint.
We use the @Embedded annotation to reuse some code for the recipes section of the app.
|
|
|
|
Then, we setup a REST controller class for the shopping list and add Spring annotations:
|
|
Next, we need our service class:
|
|
And then, our Repository interface:
|
|
The code for the recipes part of our applications is very similar from a technology standpoint. It merely adds some logic to add ingredients from a given recipe to our shopping list.
Running the Spring app
First make sure a PostgreSQL database is running on localhost:5432 and the extension for UUID generation is enabled in it.
An easy way to do this is with Docker.
You can find a suitable Dockerfile for a PostgreSQL database in the Git repository.
Build and start the database with these commands:
|
|
The following command compiles and runs the application:
|
|
Once started, we can see that both the list of recipes and the shopping list are empty:
|
|
We can create a new recipe with the following command:
|
|
The response contains a UUID, which can be used to add both ingredients of our recipe to the shopping list:
|
|
Again, the response contains a UUID for the shopping list items, which we can use to mark an entry as checked:
|
|
Resource Metrics of the Spring app
Let’s have a look at some numbers:
| Metric | Spring | Micronaut |
|---|---|---|
| Compile duration | 2.169 s | ? |
| Artefact size | 36 Mb | ? |
| Startup time without JVM | 4.161 s | ? |
| Startup time with JVM | 4.741 s | ? |
| RAM usage | 699 Mb | ? |
For the compile duration, we can use the unix tool time to measure the total time to run the command ./gradlew clean bootJar.
While you’re on the command line, you can easily check the file size of the JAR by typing du -h build/libs/recipes-spring-0.0.1-SNAPSHOT.jar
The startup times are printed to standard output once the app starts.
For RAM usage, unix users can use pmap (you need to find out the PID first): pmap 78018.
For RAM usage, first find the PID of the process with something like pidof java and then use pmap <pid>.
Micronaut
The Micronaut Code
Let’s us now create the same application with Micronaut. Again, you can find the full source code for this project on Github. Since Micronaut follows the same programming model as Spring, the code is going to look much like it.
Last year, we used the command line tool mn that can be installed with SDKMAN!.
The tool lets you configure your project and it dependencies, and also save the selection as a profile for later use.
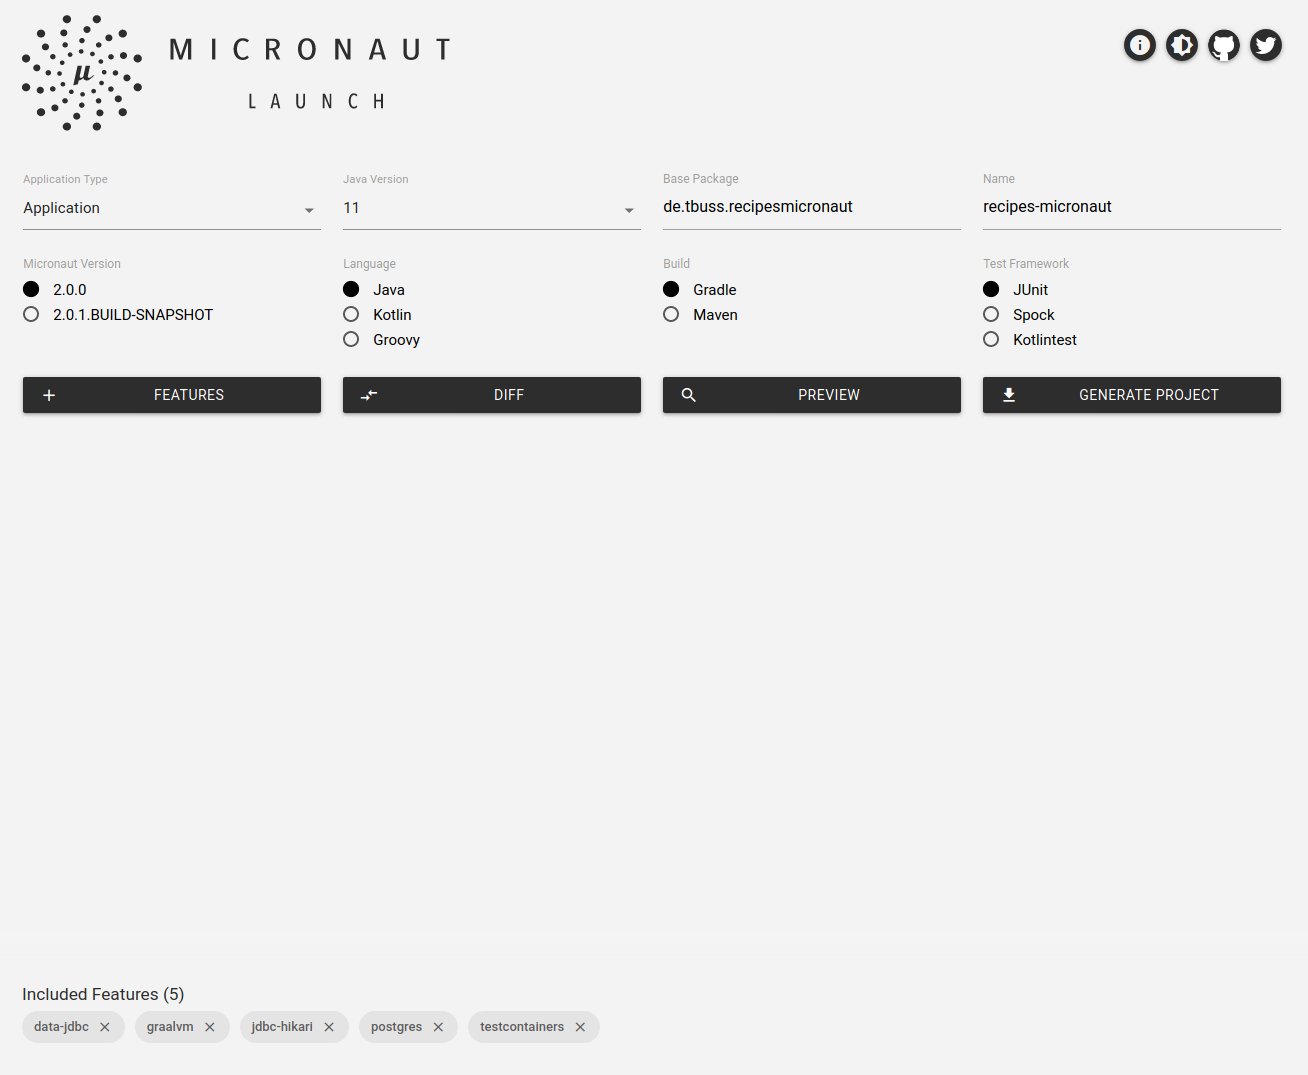
Since then, another method to create Micronaut applications has been released: A website similar to the Spring Initializer can be found at https://micronaut.io/launch.
We select the equivalent dependencies (shown at the bottom of the picture below, mind the “graalvm” one, we need it later) and generate a zip file, which now needs to be extracted somewhere on the hard drive.
Let’s get started with Micronaut then. Since I already showed some code for the shopping list in the Spring application, I’m now showing some of the recipes-related code instead. From a technology standpoint, the two do not differ.
We first need a model to work with.
Since we only used JPA annotations in the Spring app for the model, one might think that we can just use the same code from our Spring application in Micronaut.
And this is true for most parts of the application.
However, there is currently an open bug which prevents you from using an embedded class like our Ingredient class correctly, so we have to add an ID property and @Entity annotation to the Ingredient class to make it an entity and then join the two relations.
On the plus side, we no longer have to provide @JsonProperty annotations for Jackson, like we had to last year.
The objects can now be converted into JSON automatically, as it is done with Spring.
|
|
To join our recipes with the ingredients, we need to override the methods in the recipe repository to attach some special annotations from Micronaut Data JDBC: We also declare the database dialect here.
|
|
The controller classes look very much like Spring controller classes:
|
|
As you can see, the annotations have changed, but the Java code is still the same. There is even a project to make Spring annotations work in Micronaut. The same holds true for the service class:
|
|
The @Singleton annotation is actually from the package javax.inject and not a specific Micronaut annotation.
All other Java code can be copied (do not forget to change the package name though).
Running the Micronaut app
To run the app, first make sure you have a running PostgreSQL database on port 5432. We can use the same Docker image we used for the Spring application. But since our database schemas now are different due to the open bug mentioned earlier, we have to start a new instance.
Then, in our Micronaut project directory, compile and run the app with Gradle:
|
|
To build a bootable JAR, run this command:
|
|
You can use the same cURL commands as before to interact with the application.
Resource Metrics of the Micronaut app
Let’s have a look at Micronaut’s stats and compare them with Spring’s:
| Metric | Spring | Micronaut | Difference |
|---|---|---|---|
| Compile duration | 2.169s | 7.214 s | +332% |
| Artefact size | 36 Mb | 16 Mb | -55% |
| Startup duration without JVM | 4.161s | 1.142 s | -72% |
| Startup duration with JVM | 4.741s | 2.052 s | -56% |
| RAM usage | 699 Mb | 349 Mb | -50% |
An important note about those startup durations: Micronaut only outputs the startup duration without the JVM in it’s logs, so getting the whole application startup duration is somewhat tricky.
So as a “measurement” we’re starting the application, wait for the log output that says the application is running, and then ctrl-c to quit it again.
And we prepend the command execution with the unix tool time.
That is, of course, not an exact measurement because it now also includes the shutdown duration and relies on personal reflexes, but I’m not aware of any other method that could do better.
Also, the shutdown duration is really not that long.
Nonetheless, the stats are quite impressive. Of course, the compilation duration is slower than when using Spring and that can be expected considering that Micronaut does resolve Bean dependencies and other processing what Spring does at runtime. That also explains the faster startup durations. Moreover, Micronaut’s startup duration is expected to be relatively constant when the application increases in number of beans while Spring’s startup time will keep increasing. It is also worth noting that Micronaut uses about 50% less RAM than Spring for our little sample application. These are already some pretty nice improvements, so let’s see how we can further improve these stats with GraalVM.
GraalVM Native Image compilation
GraalVM is a virtual machine developed by Oracle which supports many different programming languages including Java.
It can therefore be seen as a drop-in replacement for a JVM, having all tools like java and javac, but also some things on-top.
Programs written in different programming languages can run in the same runtime and interact with each other.
Moreover, GraalVM can compile Java programs to native binaries which can then be run without a JVM (or GraalVM).
This is only possible if the application in question uses little to no reflective loading.
A detailed description why can been found here.
Since Micronaut does not use reflection at runtime, GraalVM and the framework are a natural fit.
Keep in mind that Java is still an interpreted language and it compiles Java source code to bytecode when we use our build tool or plain javac.
This bytecode is then interpreted by the JVM.
While this interpretation can be done efficiently, it is not as fast as a native binary.
Since our application uses basically no reflection, we already know about all the code that is going to run.
Therefore, we do not need to interpret the bytecode and can translate it directly to a native binary.
Not only does this completely eliminate the time needed for interpreting the bytecode, it also means that we do not need the JVM at all.
In this post, we’re using GraalVM on our own machine, but it is also possible to do this with Docker. To use GraalVM, we first have to install it by following the official documentation. Once installed, you can see the version of GraalVM next to the Java version:
|
|
But GraalVM does not come with native image support automatically, it must be added with this command:
|
|
Next, a few dependencies have to be setup correctly in our application.
Luckily, since we selected the “graalvm” feature when we created the app at Micronaut Launch earlier, we already have everything setup correctly.
In last year’s post, we also received a build-native-image.sh script with quite extensive options for native image compilation.
But this is unnecessary now as the command to run the native image compilation is much simpler now:
|
|
We set some options for RAM usage and error handling (see the docs) and then only need to point our classpath to our JAR and state the main class.
That command now compiles our application and generates a binary in the current directory called recipes-micronaut.
Be aware that this process takes A LOT of RAM and can take around 3 minutes.
If you run out of memory, you might be greeted with the ominous error 137.
In preparation for this article, it was not uncommon for me to have to close all browser windows and IDEs in my not-so-beefy Linux VM.
Make sure you have 7-8 Gb of free RAM before starting the compilation.
Once completed, you can start the application as any other binary:
|
|
76 ms startup time! Let’s look at the other stats:
Resource metrics of the native image
| Metric | Micronaut | GraalVM Native Image | Difference |
|---|---|---|---|
| Compile duration | 7.214s | 175s | +2425% |
| Artefact size | 16 Mb | 71 Mb | +444% |
| Startup time without JVM | 1.142s | 89 ms | -92% |
| Startup time with JVM | 2.052s | 89 ms | -95% |
| RAM usage | 349 Mb | 58 Mb | -83% |
The compile duration is understandably miserable. All bytecode has to be transformed into binary code. However, this step does not have to be executed for developers often, as regular changes can be tested with the “normal” JVM version of Micronaut. Only a build server has to execute this time-consuming task.
There is also an increase in artefact size, but this is not really an issue either. Normally, you would need a JVM on a server or in a container to run a Java app. But this binary can be executed without one.
Startup times have reduced significantly, with more than 95% decrease compared to Micronaut in a JVM. In combination with the also reduced RAM usage, these are strong points to prefer Micronaut over Spring when using a serverless infrastructure or Docker containers.
As a Docker image
Speaking of Docker, you automatically get a Dockerfile for your application when you generated it with Micronaut Launch.
This Dockerfile will also run native-image, so keep your RAM free before executing the following command:
|
|
The resulting Docker image then contains the binary with as little dependencies as possible, with an uncompressed size of 92 Mb. The smallest Docker image that I could find for Java 11 already has a compressed size of 69.21 Mb. A Docker image containing both JRE and the applications JAR would therefore have a size of about 86 Mb. Thus the gap between JRE + JAR and native image is not as big as it used to be last year (40 Mb), but this is mainly due to the fact that the Docker image size for JRE 11 has decreased compared to JRE 8 by almost 20 Mb.
Conclusion
In this blog post, we created a simple application with Spring and Micronaut and compared the two, both code-wise and performance-wise. We saw how Micronaut uses much less resources than Spring and even fewer when we compile the application with GraalVM.
The Micronaut Framework offers Java developers a way to develop lightweight and quick cloud native applications without leaving their familiar Spring programming model or even switching to a new programming language like Go.
Last year, I concluded my article by saying that Micronaut is still young and does not have a rich ecosystem and sizable community as Spring does. This year, it’s not as simple. Micronaut has been used in production by some companies and the Micronaut 2.0 release brings some stability to the framework, while at the same time implementing some community feedback. It might be best to use Micronaut where it really shines: Serverless applications and microservices. This keeps the business impact low and developers can easily experiment with the framework (and ditch it if they come across any downsides).
What’s really great is that the competition seems to have set some things in motion for Spring developers: The Spring team is now actively developing support for GraalVM and we can expect a release some time later this year. I will explore Spring’s GraalVM capabilities in a later blog post. Whether or not Spring’s support will be as good as Micronaut’s or even better is unknown at this time. If it is equivalent, I do not see much pro arguments for using Micronaut over Spring. If Spring fails to deliver, Micronaut might have a bright future ahead.